using System; using Microsoft.Extensions.Configuration; namespace NetCoreConfigDemo { class Program { static void Main(string[] args) { var builder = new ConfigurationBuilder() .AddCommandLine(args); var configration = builder.Build(); Console.WriteLine($"name:{configration["name"]}"); Console.ReadLine(); } } }
using System; using Microsoft.Extensions.Configuration; using System.Collections.Generic; namespace NetCoreConfigDemo { class Program { static void Main(string[] args) { var dic = new Dictionary<string, string>() { { "name", "oec2003" } }; var builder = new ConfigurationBuilder() .AddInMemoryCollection(dic) .AddCommandLine(args); var configration = builder.Build(); Console.WriteLine($"name:{configration["name"]}"); Console.ReadLine(); } } }
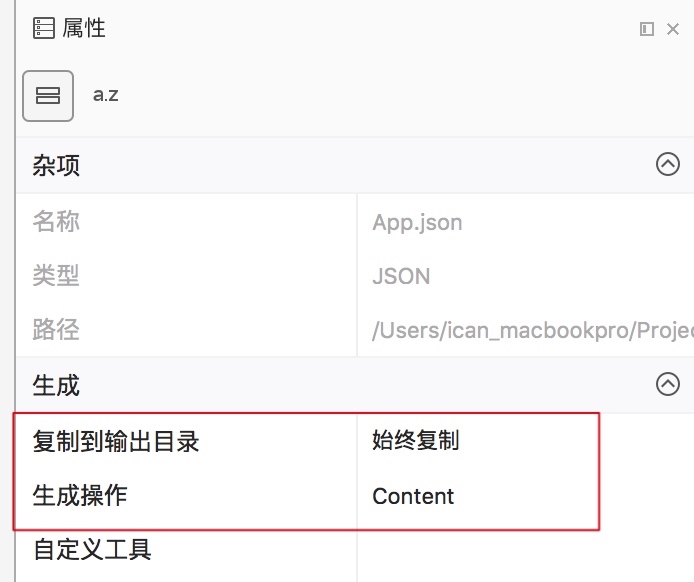
using System; using Microsoft.Extensions.Configuration; namespace NetCoreConfigDemo { class Program { static void Main(string[] args) { var builder = new ConfigurationBuilder() .AddJsonFile("App.json"); var configration = builder.Build(); Console.WriteLine($"name:{configration["name"]}"); Console.ReadLine(); } } }
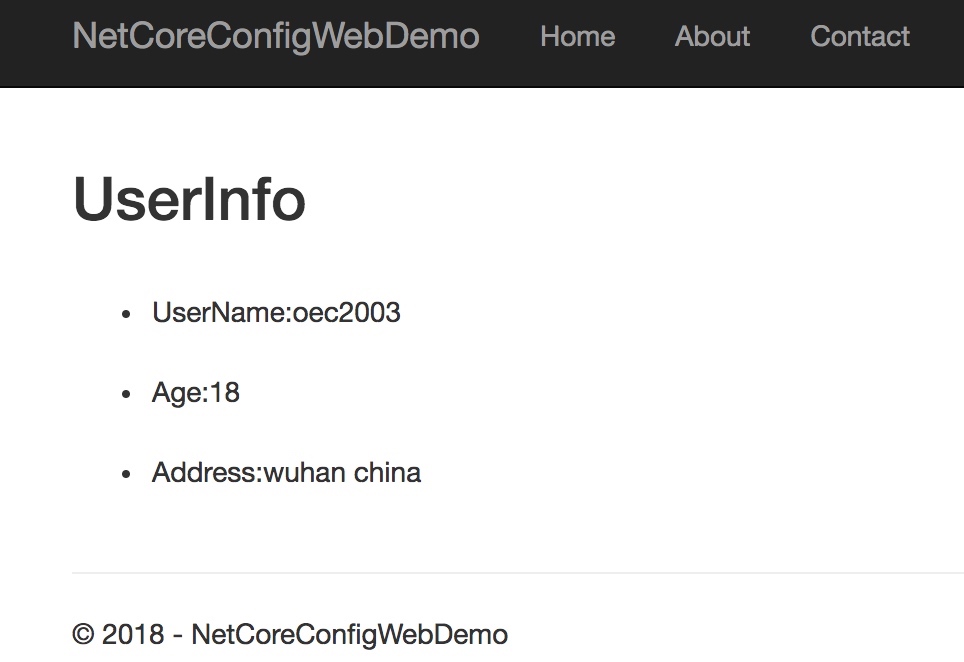
public void Configure(IApplicationBuilder app, IHostingEnvironment env) { ...... //读取配置文件内容到UserInfo类 var userInfo = new UserInfo(); Configuration.GetSection("UserInfo").Bind(userInfo);
using System; using Microsoft.Extensions.Configuration;
namespace NetCoreRedisConfigDemo { public class RedisConfigSource : IConfigurationSource { public IConfigurationProvider Build(IConfigurationBuilder builder) { return new RedisConfigProvider(); } } }
using Microsoft.Extensions.Configuration; using System.Collections.Generic; namespace NetCoreRedisConfigDemo { public class RedisConfigProvider:ConfigurationProvider { public RedisConfigProvider() { } public override void Load() { Dictionary<string, string> dic = new Dictionary<string, string>() { {"HostName","localhost"}, {"Port","6379"}, {"Password","123456"} };
Data = dic; } } }
RedisConfigExtension类
1 2 3 4 5 6 7 8 9 10 11 12 13 14
using System; using Microsoft.Extensions.Configuration;
namespace NetCoreRedisConfigDemo {
public static class RedisConfigExtension { public static IConfigurationBuilder AddRedisConfig(this IConfigurationBuilder builder) { return builder.Add(new RedisConfigSource()); } } }
3、在Main方法中可以使用我们自定义的Provider
1 2 3 4 5 6 7 8 9 10 11 12 13 14 15 16 17 18
using System;
using Microsoft.Extensions.Configuration;
namespace NetCoreRedisConfigDemo
{
    class Program
    {
        static void Main(string[] args)
        {
            var builder = new ConfigurationBuilder()
                .AddRedisConfig();
            var configration = builder.Build();
            Console.WriteLine($"HostName:{configration["HostName"]}");
            Console.WriteLine($"Port:{configration["Port"]}");
            Console.WriteLine($"Password:{configration["Password"]}");
            Console.ReadLine();
        }
    }
}
using System; namespace NetCoreEnvironmentDemo { class Program { static void Main(string[] args) { string name = Environment.GetEnvironmentVariable("name"); string age = Environment.GetEnvironmentVariable("age");